This is a sponsored conversation written by me on behalf of Cricut. The opinions and text are all mine.
I have owned a Cricut Explore Air for some time now, and truth is you wouldn’t know it because like distant relatives it only comes out for a short visit over the holidays. I have made cutesy pajamas for the kiddos, and gifts for the graduating class at school etc. I always had difficulty with the Cricut Smart Dial. So despite my love for the machine and all it could do, we didn’t create much together.
As a New Years resolution to focus on self care and what brings me joy, I am creating with the Cricut Maker, because I am a crafting girl at heart. The Cricut Maker aka my new bff makes it so easy!
Here are the reasons I am crafting and creating more with Cricut Maker and you will too!
The Digital Smart Dial:
Sound the trumpets! The Cricut Smart Dial is now digital, taking out the guess work. Now when the Cricut Maker machine is selected as your connected machine, Cricut Design Space will populate your Digital Smart Dial. Instead of rotating the physical smart dial, you will have a variety of pre-populated materials to choose from. I now type in the label from the Cricut material I am using into the search area. Once the medium I am working with is set the Cricut Maker software automatically determines the pressure as needed with each cut.
Materials:
Much like the 80’s with a daughter who is a fashionista, I am living in a material world with my material girl. Cricut Maker can cut over three hundred materials from the most delicate paper and fabric, to tough stuff like mat board, and leather. We are still in the early phases and mostly have just been cutting vinyl to make matching family pajamas and shirts, mugs, labels but we are eager to cut more and share our designs with you. So stay tuned! Share below what you would like to see us to create?
Digital Sewing Pattern Library:
I remember as a child my nanny purchasing sewing patterns to make things for me and gifts for others. Now I have access to hundreds of patterns from the brands like Simplicity® and Riley Blake®. Gia and I have already picked out a special doll shirt and material to create over winter break. Having the Cricut Maker cut all the pieces we need eliminates my hands making the wrong cut.
Ready to Make Projects:
Right out of the box, I promise you, you will want to plug the Cricut Maker in and get making! There are 50 ready to make projects which includes 25 digital sewing patterns plus more projects that demonstrate what the Cricut Maker can do. I suggest you try one to get an understanding of how simple and fast the Cricut Maker machine is. Once you do you will feel more comfortable and ready to create in the Cricut Design Space.
I am feeling more comfortable with using the Cricut Maker than any of the machines prior. The digital dial has made a big difference for me. With the previous machines I always cut the material too deep which led waste, or me applying the material piece by piece and hoping it was on straight.
Starting off Simple
As many of us, my goal is to live an organized life, which equates to me labeling most things so the kids know exactly where their items belong. This leads to them actually putting things away (in my mind at least).
Since the beginning of the school year I purchased a large galvanized bin on clearance in hopes the lunch boxes would be tucked away every evening. This didn’t happen so I created a label for our Lunch box drop. Yep, one label for each side to be exact. One side says Got lunch? A gentle reminder to pack their lunches. The other says LUNCHbox Drop, indicating PUT YOUR LUNCH BOX HERE PLEASE! It is these simple things that will save me from tripping over lunch boxes that land in the mudroom, the kitchen and oddly enough the bathroom?!
Creating the labels was simple. I linked my project which is public here and items need are listed and linked below.
Galvanized bin (any size)
Cricut design space
Steps to create your own labels.
Step 1: I measured the size of the LUNCHbox bin I was going to attach the labels to.
Step 2: Then I opened the Cricut Design Space, and added text. The font I used was Cricut Sans.
Step 3: I then felt the letters needed to be closer together, so I highlighted the words and clicked on the letter spacing to adjust. I wasn’t completely satisfied so I highlighted and ungrouped the words. I then clicked on the letters one at a time while holding the shift key, I dragged the letter to where I wanted it to be. (holding the shift key while moving the letters assures they stay in line and do not move our of alignment. I repeated this process for each letter in the word. I then grouped the word together and followed the same step with the other words.
Step 4: I highlighted the text and dragged the arrow in the right corner to enlarge the text.
Step 5: I highlighted the text again and attached it. If you skip this part your words will not print correctly. (see image above)
Step 6: Let’s weed. I honestly find the process of removing all the excess material in a design you don’t want or need relaxing. Kind of feels like a mini purging session for me.
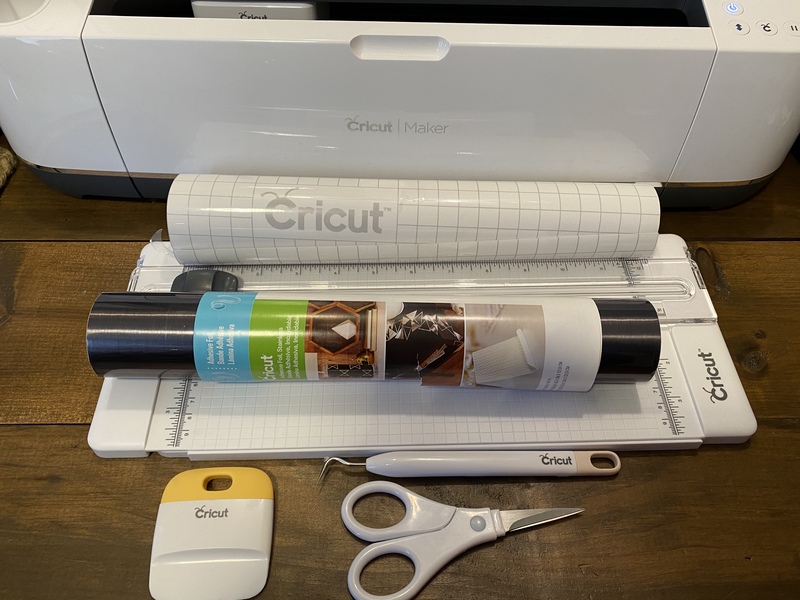
Step 7: Next I applied transfer tape. I gently placed the Transfer Tape on the adhesive side down over my design, starting in the center and moving out toward the edges. I used a scraper found in the Cricut Basic Tool Set to rub the tape onto the vinyl. Next peel the vinyl away from the liner at a 45-degree angle.
Step 8: Then I carefully placed the transfer tape with my labels onto the bin and repeated the process of rubbing the transfer tape on the bin, and then peeled the vinyl away from the liner at a 45-degree angle.
Here’s to hoping for organized lunch bags, and so much more!
Stay tuned, next up we will share our thoughts on the Cricut Easy Press 2 along with a Valentine’s Day themed design.
Comment below what else you would like us to create.


Love this! Please tell me you are labeling your entire kitchen! I’d love to see some pantry/kitchen inspiration and tutorials!