This is a sponsored conversation written by me on behalf of Cricut. The opinions and text are all mine.
Recently we shared our views on the Cricut Maker and why we are creating much more with it. I also shared a simple vinyl cut DIY project I created, an attempt for more organization. Today I am sharing with you the Cricut EasyPress 2 so you, like me can create more projects, using more materials.

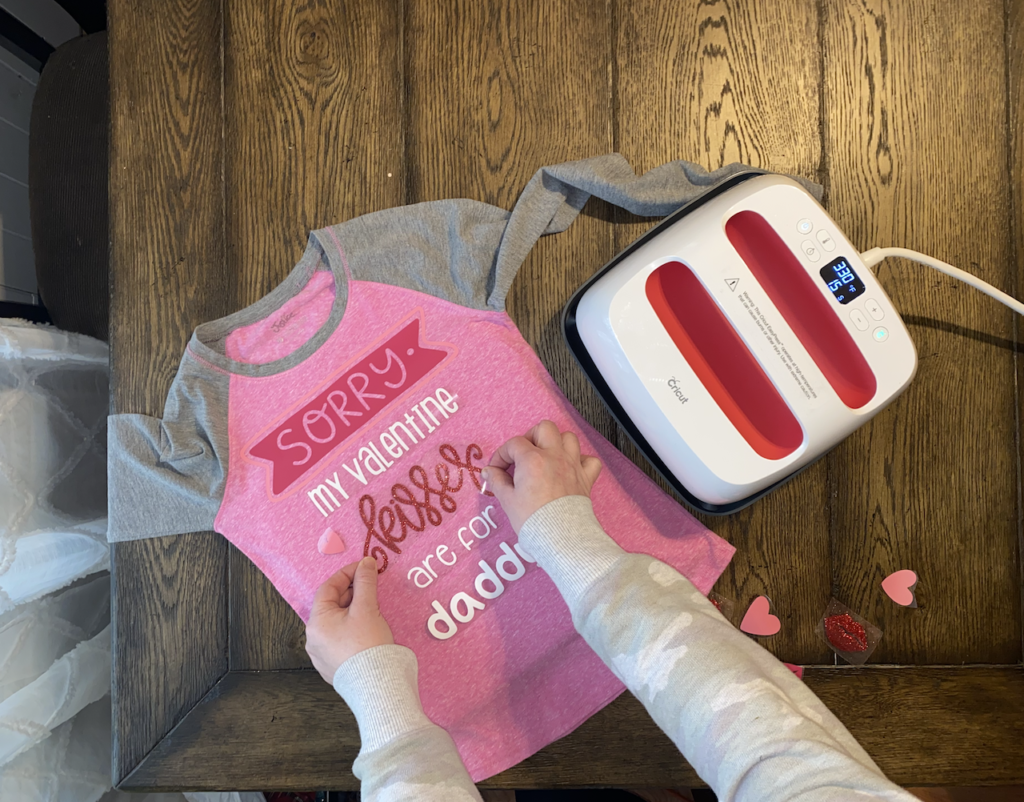
The Cricut EasyPress 2 is a portable heat press which is available in a few different sizes. The 9″ x 9″ seen above is the one I use most frequently. I have used it to create a family blanket, shirts, sweatshirts etc. It is just the right size to create most projects. I also have the Cricut EasyPress 2 Mini which I use for sneakers, hats, and smaller objects. Both are also very easy to transport for creating on the go.
The Cricut EasyPress 2 delivers consistent, accurate heat leaving little room for error. The heat plate is large enough to cover a large shirt, and most designs entirely. No worries about having to move the heat press back and forth and risk moving your design.
If you are ready to create your first Everyday Iron project the Cricut EasyPress 2 is the perfect machine to get you creating.
How to Use The Cricut Easy Press:
The Cricut EasyPress 2 is simple to use. Once you have cut and weeded your design, (Valentine’s kisses available here), read the label of the item you are pressing your design onto to identify the base material.
For our Valentine’s Kisses project we used the following materials:
- Pink T-shirt
- Everyday Iron on Glitter
- Everyday Iron on Red and White
- Cricut EasyPress 2
- Cricut EasyPress 2 Mat
Cricut Heat Guide
I find it easiest to visit the Cricut Heat Guide for the most accurate fool proof directions. The Cricut Heat Guide will provide you with the proper temperature settings for the specific materials you are using, time to press and when to peel. I have learned to refer to the heat guide with each iron on project I create, because it takes out the guess work.
Set Time and Temp
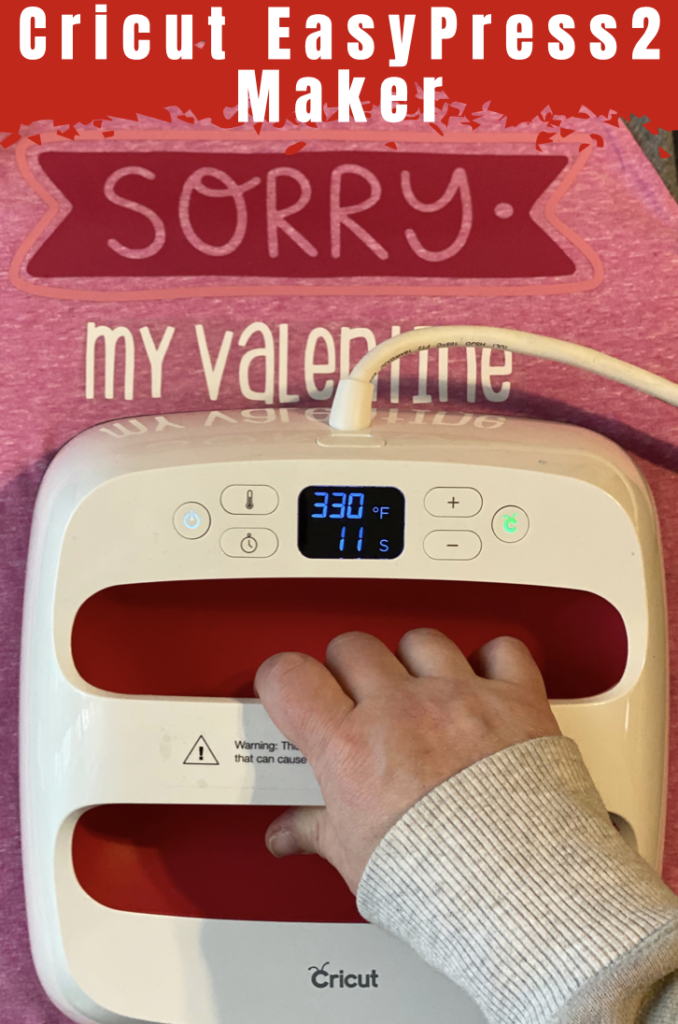
The temperature is easily adjusted first by pressing the thermometer button and then using the plus or minus buttons to reach your desired temperature. The Cricut EasyPress 2 can turn the heat up to 400℉ to achieve amazing, long-lasting results for your iron-on projects. Once you have set the temperature the Cricut Easy Press machine will begin to heat up to the desired temperature.
While the Cricut EasyPress 2 is heating up, press the clock button and again use the plus or minus buttons to set the desired time to press. When the Cricut Go button lights up you are all set to press!
Apply Heat

Place your design iron-on face down, liner side up on the base material (in this case cotton shirt) and press the machine on your design. Then Press the Green Cricut Go Button, the timer will then heat press for the amount of time you preset and beep when complete. Then I flip the shirt and press the other side of the shirt for 5-10 seconds to help secure the everyday iron on.

In some cases, you may have to remove the liner while it is still warm. This depends on the material you are using, the Cricut heat guide will indicate when to remove the liner.
Safety Features
Once you are done pressing place the Cricut EasyPress 2 back onto the base. The base is insulated, which is an additional layer of safety when not in use.
The Circuit EasyPress 2 also has an auto off feature which is just what I need. I am a multi-talker at heart, but sometimes things go array. Therefore, I am thankful for the Cricut Gods who have created this safety feature to provide me peace of mind. The Cricut EasyPress 2 will begin to beep after non use, if you ignore it, it automatically turns itself off after ten minutes of inactivity.
Care Instructions
Allow 24 hours after application before washing, and tumble dry inside out. We are certain your designs will quickly become a favorite, but don’t worry even after repeated washes your transfers will last.





Leave a Reply